
The cannabis industry is on the rise, and so are the number of multiple dispensary locations run by a single business owner.
In August 2015, dispensaries in Colorado broke the 100 million dollar mark in monthly pot sales, and the numbers have only grown nationwide since.
Our #1 goal here at WP Dispensary is to give those cannabis business owners a complete system to build, manage and grow your dispensary business online.
For the budding entrepreneurs in the pot industry who run multiple dispensary locations, we’ve got you covered.
Recently we released the Dispensary Locations add-on for WP Dispensary, which gives you an option to tag specific products in your menu to specific locations.
In this article we’re going to go over the add-on, how it works and why you need this add-on if you manage multiple dispensary locations.
Dispensary Locations add-on
As the cannabis industry continues to grow, we are going to see more and more owners of multiple dispensary locations, and even chains across the country.
WP Dispensary works great if you need a single dispensary menu for a single location. Without bloating out the core code, we decided to put together an add-on for the dispensary owner who needs to manage multiple locations.
The add-on is lightweight and does exactly what you need it to do. You can add a specific location to each menu type you create, similar to how you are able to add symptoms, aromas and other details.
Let’s look over how to install and set up the Dispensary Locations add-on and get it working on your website.
Setting up Dispensary Locations
First, you’ll need to download a copy of the Dispensary Locations add-on.
Once you have the zip file saved to your computer, log into your WordPress dashboard. Head over to Plugins - Add New and click the Upload Plugin button at the top of the screen.
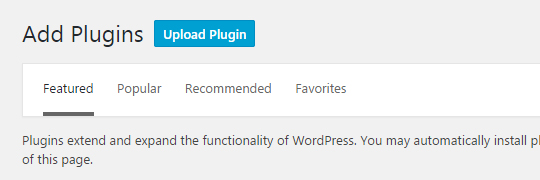
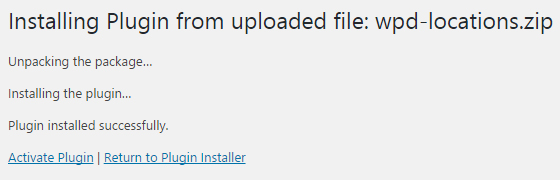
Next you’ll be presented with a screen that lets you upload the wpd-locations.zip file you downloaded to your website.

After uploading, you’ll want to click the “Activate Plugin” link, and you’re all set to start setting up your locations!
Let’s look at an example of how you can add your locations to your menu items. As an example, I will show you how to add a location to a current flower item.
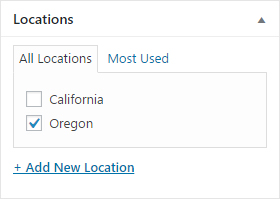 On the right column of your Flower edit screen, you’ll see the Aromas, Effects, Symptoms and now there will be a Locations box. This box will let you add in your locations, for instance “Oregon” and “California”.
Select the location you’d like your flower to show up on. You can select multiple locations or add the item to one specific location.
After you do this to one menu item, you can do this to all menu items and any new items that get added in the future.
Now let’s display the menu for a specific location.
Choosing the dispensary locations will display
The Dispensary Locations add-on comes with both a custom widget and shortcode, giving you multiple ways to display your location information.
Shortcode options
Here’s an example shortcode with all of the available options in use.
[wpd-locations posts="9" class="" name="show" info="show" imgsize="dispensary-image" thc="" cbd="" title="California Location" location="california" orderby="" type=""]
Below are details on each available option.
- title – default is blank. This title shows above the menu item output.
- class – default is wpdshortcode & wpd-locations are both classes used by default in the plugin.
- type – default is blank. Options (flowers, edibles, concentrates, prerolls, topicals, growers)
- posts – default is 100.
- locations – default is blank. Options (any of the locations you added to your menu items).
- name – default is ‘show’. Choose to show or hide the menu item name from shortcode output.
- info – default is ‘show’. Choose to show or hide the menu item info from shortcode output.
When you add your location shortcode to the Page or Post of your choice, the output will look similar to the screenshot below.
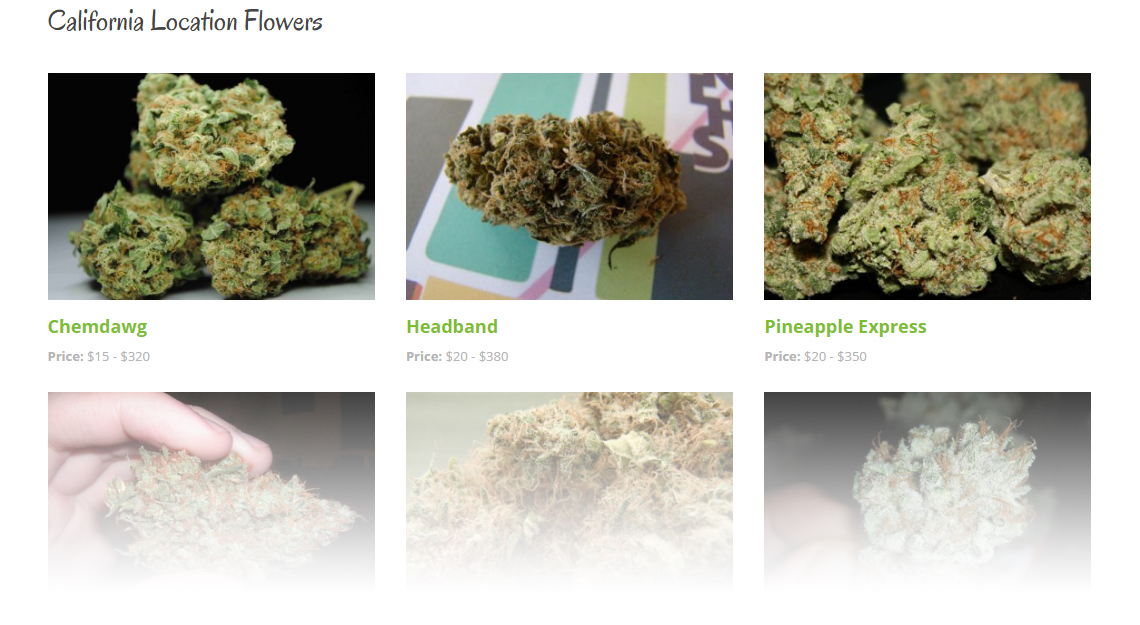
See live example on our CannaBiz theme demo page here.
Widget options
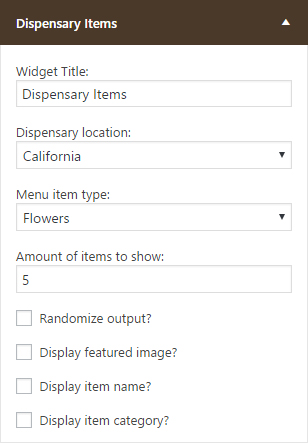 The options available in the widget are the same that are available in the shortcode. You can see an example of how the widget looks in your dashboard, giving you the ability to control various items in the widget output.
For instance, you can select to display 3 Flowers and only show the image and name, without displaying the item category.
Or maybe you want to show the names only, with no featured image or category output.
The goal of the widget is to give you the option to choose how you display menu items easily without having to touch a line of code.
You could also check the box to randomize the output, which works well if you have a lot of flowers and want to give them all equal time to shine.
Download the Dispensary Locations add-on
Now that you can see how everything works and what it can do to easily expand the power of the WP Dispensary plugin, what’s stopping you from using it right away?
Get Dispensary Locations now.
Find a bug or know of a way you think we can make the Dispensary Locations add-on better? Drop a comment below or shoot us a support ticket.
