1 minute, 14 seconds
Install WP Dispensary from the WordPress Dashboard
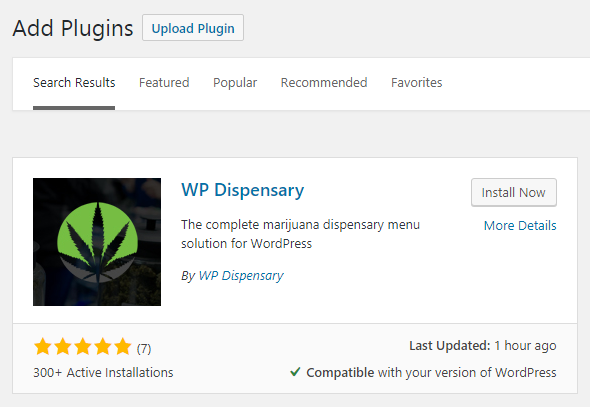
- If you don’t already have WP Dispensary installed, go to
Dashboard - Plugins - Add New. - Search for “WP Dispensary” in the box provided, and click the “Install Now” button.
- After the plugin is finished installing, click “Activate” and you’re ready to start using the WP Dispensary plugin!
Installing add-ons from the WordPress dashboard
The add-ons we provide work exactly like regular WordPress plugins, and you are able to easily upload and activate the add-ons you download or purchase by following the steps below.
- Go to
Dashboard - Plugins - Add New. - Click the “Upload” button at the top of the page.
- Click “Choose File” and navigate to the zip file of the add-on you downloaded.
- Click the “Install Now” button
- After the add-on is finished installing, click “Activate” and you’re ready to start using the add-on
- Repeat this step for each add-on you have downloaded or purchased.
Installing WP Dispensary or add-on’s through FTP
- Download an open source FTP client, such as FileZilla.
- Connect to your website using your hosting FTP credentials.
- Navigate to your
/wp-content/plugins/folder. - Extract the folder from the “zip” file you downloaded.
- Copy the newly extracted folder to the
/wp-content/plugins/folder, so that you see only the folder name inside the directory. - In your WordPress dashboard, go to
Dashboard - Pluginsand find the plugin you just uploaded. - Click “Activate” and you are now ready to work with the plugin you’ve just installed.


