
Please Note: This tutorial is outdated. As of WooConnect version 2.0+ there is a new how-to tutorial.
The goal for WP Dispensary has always been, and will always be to be the cannabis industry’s #1 dispensary menu management solution.
This new add-on is really pushing to make that happen because as of today you are now able to let patients place orders directly on your website, upload required legal documentation and pay for their order on pickup.

Easily sell dispensary menu items with WooCommerce
WP Dispensary does a great job at letting you easily add a dispensary menu to your WordPress website. However, the biggest need I’ve heard since launching is that dispensary owners would like a way to allow patients to place orders online through their menu.
WooCommerce was mentioned over and over, and with the WooConnect add-on, we’ve answered your call for an easy way to sell your dispensary menu items directly on your website.
Setting up WP Dispensary’s WooConnect
After you’ve purchased your copy of the WooConnect add-on, you will need to upload the zip file you received.
This can be done through FTP with your hosting company information, or directly in your WordPress admin dashboard.
Once you’ve uploaded the plugin, you’ll need to Activate WP Dispensary’s WooConnect through the Plugins section of your dashboard.

Once activated, the real fun begins!
Use the ‘Pay on pickup’ Payment Gateway
Since credit card companies are reluctant to work with businesses in the cannabis industry, the WooConnect plugin adds a new Payment Gateway option called Pay on Pickup.
This means no money transactions are done through the web, the order is placed and you’re notified when a new order comes in so you can prepare the order and have it ready for your patient when they show up.
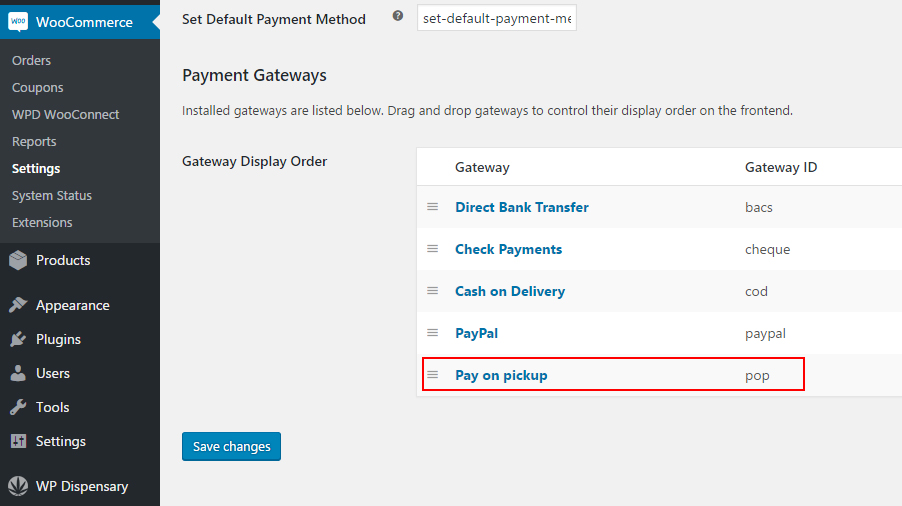
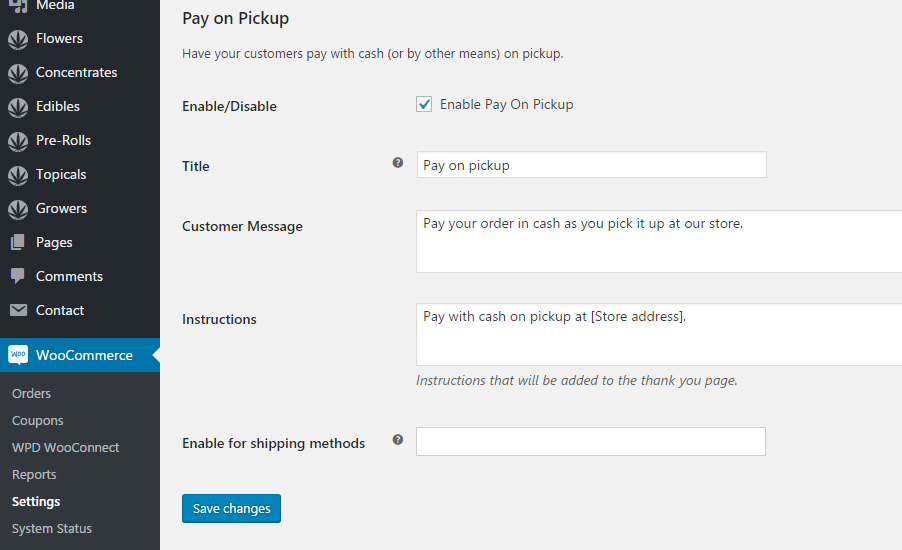
You can change to Pay on Pickup by going to WooCommerce > Checkout > Pay on Pickup and checking to Enable Pay on Pickup.
Here, you’re also able to add custom text to the Thank You page, as well as adjust the title and message that shows up on your checkout page.
Patient documentation file upload
Another feature baked right into the WooConnect add-on for WooCommerce is the file upload option so you can have patients upload any legal documentation or scans required before orders are processed.
After you activated the plugin, you should see the Settings link like below.
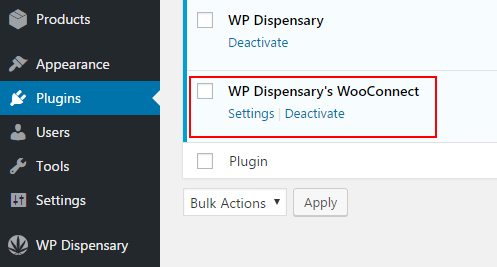
You can also find it under the WooCommerce section of your admin menu titled WPD WooConnect.
The settings available to adjust for the file upload can be seen by clicking and expanding the image below.
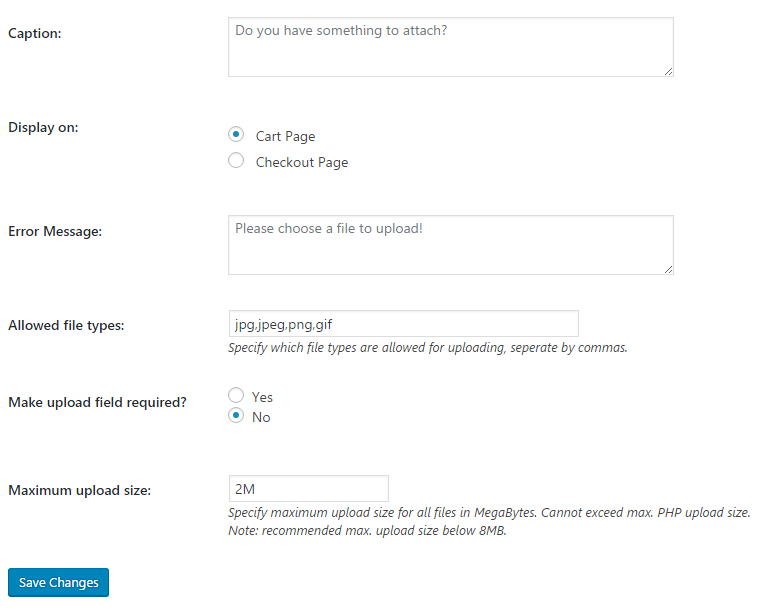
Your patient can now attach a scanned copy of their medical marijuana card and valid drivers license to their order, allowing you to verify their information before preparing the order for sale.
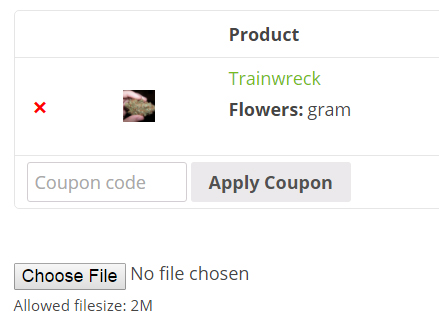
On your website, you’ll now see the file upload option, similar to the image below.
Once the file has been attached and the order has been placed, you’ll be able to view the order in your WordPress admin dashboard under WooCommerce > Orders.
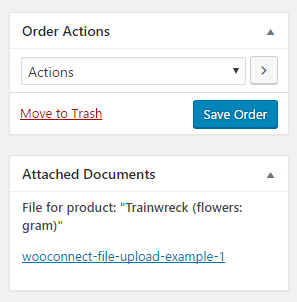
This is also where you can change the order status once the patient has come into your shop and picked up their order.
You can do this by changing the “Order Actions” to “Completed Order”.
Adding a WP Dispensary item to a WooCommerce product
Now that you’ve got your settings saved, it’s time to start connecting your WP Dispensary menu items to WooCommerce.
Let’s start by adding a new product to WooCommerce. For this example, I’ll be creating a product to sell the Trainwreck Flower.
When you are on the New Product screen in WooCommerce, you’ll now notice the following boxes on the right side of your screen.
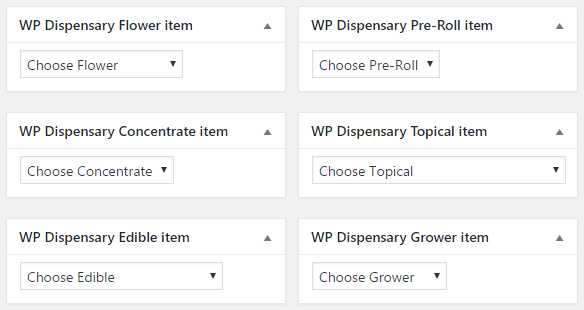
You can select the WP Dispensary menu item you’d like the new WooCommerce product to attach itself to.
Next, we’ll want to add in pricing for our new Flower product.
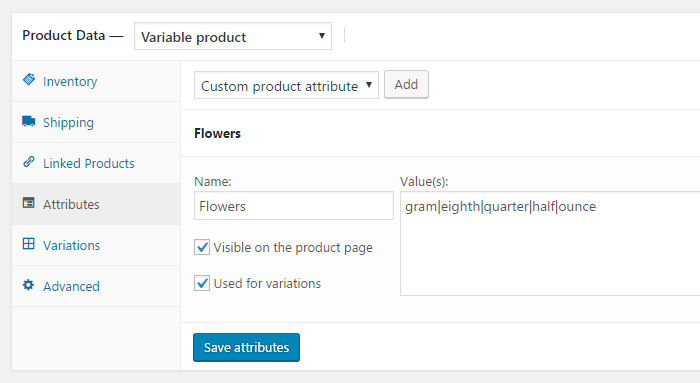
First, you’ll need to select Variable Product in the Product Type drop down. Next, you will click the Attributes tab and click the ‘Add’ button next to Custom Product attribute.
Make sure your options are set up like the image below before you click Save Attributes.
After you’ve saved your new Attributes, you’ll need to click the Variations tab and select Create variations from all attributes and click the GO button.
This will add your size variations to the screen, allowing you to add a custom price for each weight.

Expand the view of each weight option and add in your price as well as any other details you’d like, similar to the screenshot below.

Once you’ve added in pricing for each of your weight variations, click the Save Changes button to save your price variations.
Then you can Publish your new product, and it’ll look similar to the image below, which is how it looks when using our CannaBiz WordPress theme.
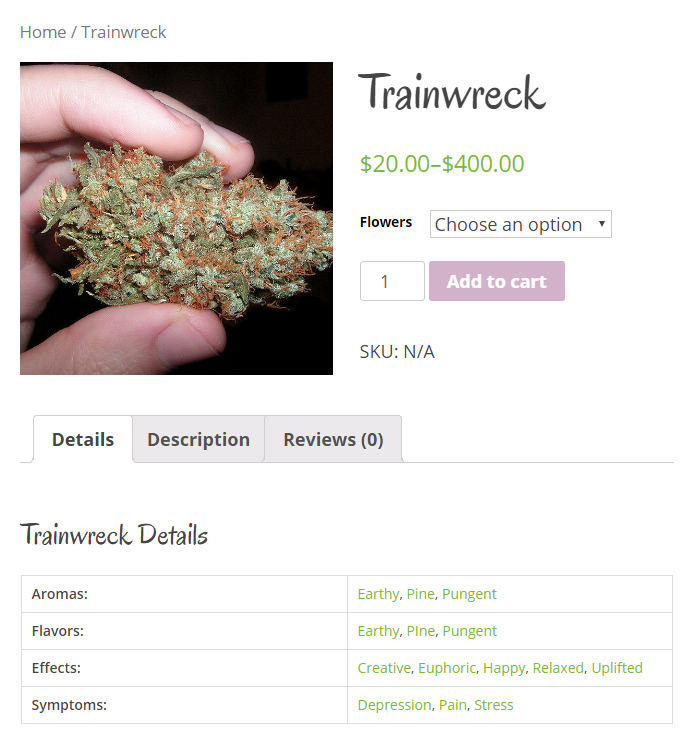
The item details are pulled directly from the WP Dispensary menu item you selected when adding your product.
Automatically adds a “buy now” button to WP Dispensary menu items
Beyond adding the item details to your new WooCommerce product, the WooConnect plugin adds a buy now button to your WP Dispensary menu item.
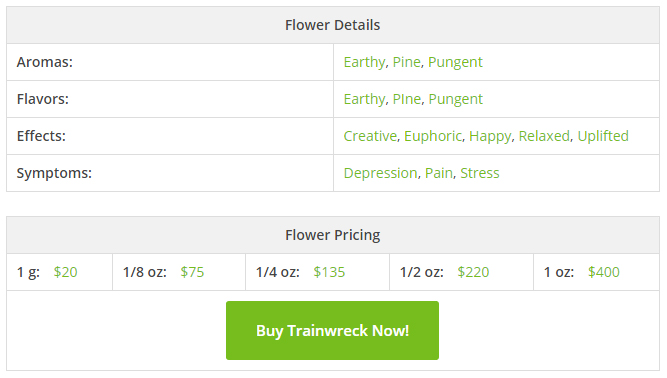
No need to do anything else, your WP Dispensary menu item will automatically show a buy now button if it’s been chosen for any WooCommerce products you’ve added.
Download the WooConnect add-on
Now that you can see how the WooConnect add-on works and what it can do to easily expand the power of the WP Dispensary plugin, what’s stopping you from using it right away?
View full details on the WooConnect page, or add the extension to your cart immediately below.
[purchase_link id=”1523″ text=”Add to Cart” style=”button” color=”green”]
Find a bug or know of a way you think we can make WP Dispensary’s WooConnect for WooCommerce add-on better? Drop a comment below or shoot us a support ticket.
